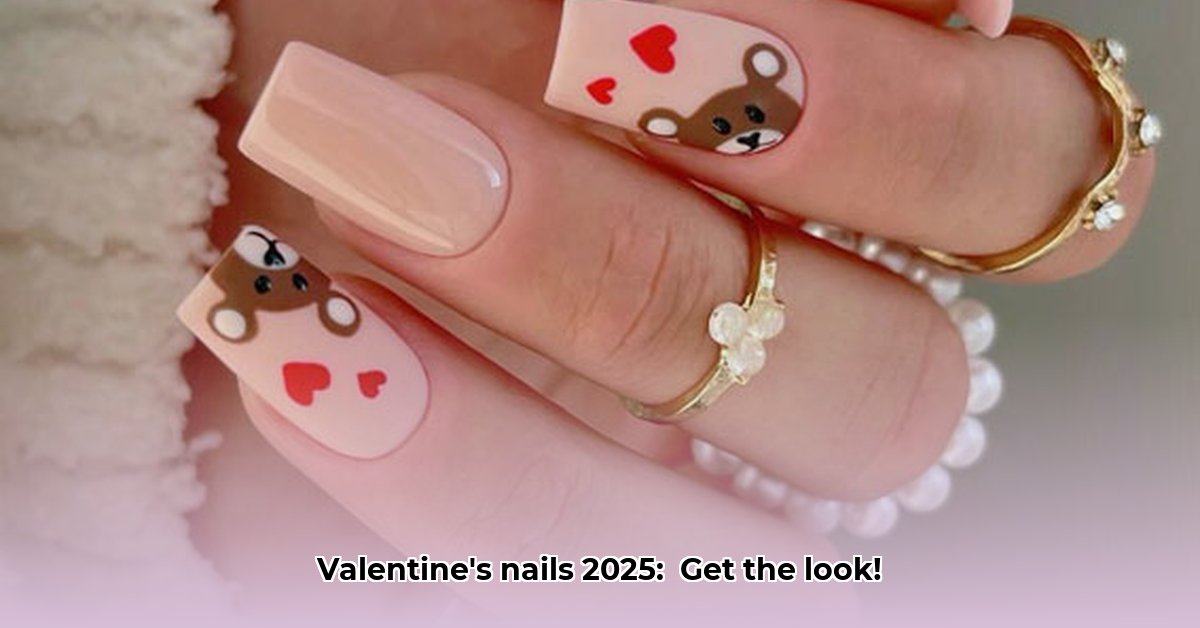
Ready to paint your nails with love this Valentine's Day? With over 3 million Pinterest searches for "Valentine's Day nails," you're definitely not alone! This guide will walk you through creating stunning Valentine's Day nail art, perfect for any skill level. We'll explore trending designs, essential tools, and even some advanced techniques to help you unleash your inner nail artist. Let's get started!
Gather Your Supplies: The Ultimate Nail Art Kit
Before we dive into the designs, let's gather our tools. Think of this as your personal nail art arsenal:
- Base Coat & Top Coat: These are non-negotiable. They protect your nails and make your manicure last longer. (Think of them as your nail's best friends!)
- Nail Polish Remover: For those inevitable little mistakes. Acetone-based remover is faster, but non-acetone is gentler.
- Cotton Balls/Swabs: Essential for cleaning up any polish mishaps.
- Cuticle Pusher: Gently pushes back your cuticles for a cleaner, more polished look. (Helps your polish adhere better too!)
- Nail File & Buffer: Shapes and smooths your nails for a perfect canvas.
- Valentine's Day Nail Polish Colors: Reds, pinks, glitters—the options are endless! Experiment with different finishes like matte or shimmer.
- Embellishments (Optional): Tiny hearts, rhinestones, glitter, nail stickers—let your creativity shine!
You can find all these supplies at drugstores, beauty supply stores, or online.
Trending Valentine's Day Nail Art Designs: 2025 Edition
This year's Valentine's Day nail art is all about expressing your unique style. From classic looks to fresh twists, there's a perfect manicure waiting for you. Let's explore some popular choices:
1. Classic Red Hearts: A Timeless Romantic Choice
This is a Valentine's Day classic for a reason! It's simple, elegant, and always makes a statement.
- Prep: Start with clean, dry nails and a base coat.
- Red Base: Apply two thin coats of a vibrant red polish, allowing each coat to dry completely.
- Heart Design: Using a thin nail art brush (or even a toothpick!), paint small hearts on your nails. Don't worry about perfection—a little imperfection adds charm!
- Top Coat: Finish with a top coat for shine and longevity.
Variations: Try different shades of red, add glitter to the hearts, or incorporate other shapes.
2. Romantic Glitter Gradients: Shimmer and Shine
Looking for some serious sparkle? Glitter gradients are the perfect way to add a touch of magic.
- Base Coat: Apply a base coat for an even surface.
- Gradient: Apply two shades of pink (or your chosen colors), blending them smoothly at the tips for a gradient effect. A sponge or small brush works well for blending.
- Glitter: Once dry, apply glitter polish generously over the gradient. You can also add glitter only to the tips.
- Top Coat: Finish with a top coat to set the glitter and add shine.
Variations: Experiment with different color combinations and glitter types. Try a rose gold and silver glitter blend!
3. Delicate Floral Accents: A Touch of Springtime Romance
For a softer look, floral nail art is a lovely option.
- Pastel Base: Start with a nude or pastel base color (like a soft pink or creamy white).
- Floral Design: Use a fine detail brush to paint small flowers. Start simple and build your confidence.
- Details: Add tiny dots or leaves to complete your designs. Use a dotting tool for perfect small circles.
- Top Coat: Finish with a glossy top coat.
Variations: Experiment with different flower types, colors, and sizes. Add tiny crystals for extra luxury.
4. Minimalist Designs: Chic Simplicity
Sometimes, less is more! Minimalist designs are perfect for a clean, understated look.
- Solid Color: Choose a beautiful nail polish shade that complements your skin tone.
- Two Coats: Apply two thin coats for maximum opacity.
- Optional Accent: Add a small heart or simple design to one nail (optional).
- Top Coat: Finish with a matte or glossy top coat.
Variations: Experiment with different nail shapes and colors.
5. Personalized Initials: Your Signature Style
Make your manicure totally unique by adding your initials!
- Base Coat: Choose a flattering base color.
- Initials: Carefully paint your initials on one or two nails using a thin brush.
- Top Coat: Seal with a top coat and add optional glitter or rhinestones.
Variations: Experiment with different fonts, colors, and embellishments.
Level Up Your Nail Game: Advanced Techniques
Ready for a challenge?
- 3D Nail Art: Create dimensional hearts or flowers using acrylics. Requires practice, but the results are stunning!
- Intricate Designs: For skilled nail artists, more complex patterns and details are possible. Pinterest is a treasure trove of inspiration!
Remember, Pinterest is your go-to resource for endless inspiration and step-by-step tutorials! Search "Valentine's Day nail art" and get creative!
Key Takeaways: Love Your Valentine's Day Nails!
- Classic red and pink remain popular choices.
- Hearts, glitter, and romantic motifs are key design elements.
- Pinterest offers endless visual inspiration for personalization.
- DIY nail art allows for self-expression and creativity.